How to Install a Long Length of Retro-Line Heating Cable In A Pipe - Heat-Line Freeze Protection Systems

How to Install a Long Length of Retro-Line Heating Cable In A Pipe

The Retro-Line heating cable, sometimes referred to as electric heat tracing for pipes, is supplied in a predetermined length with all necessary components for a complete job-ready system. Retro-Line is a safe and reliable solution to internally prevent frozen pipes in many different fluid pipe applications. On Retro-Line systems 90 feet and longer, Heat-Line conveniently includes a 6 foot long pull cord which you can use to help fish and pull the Retro-Line system into the pipe.

In this video we detail the installation of a long length of Retro-Line using the included pull cord.

1. Install Pull Cord Inside Pipe

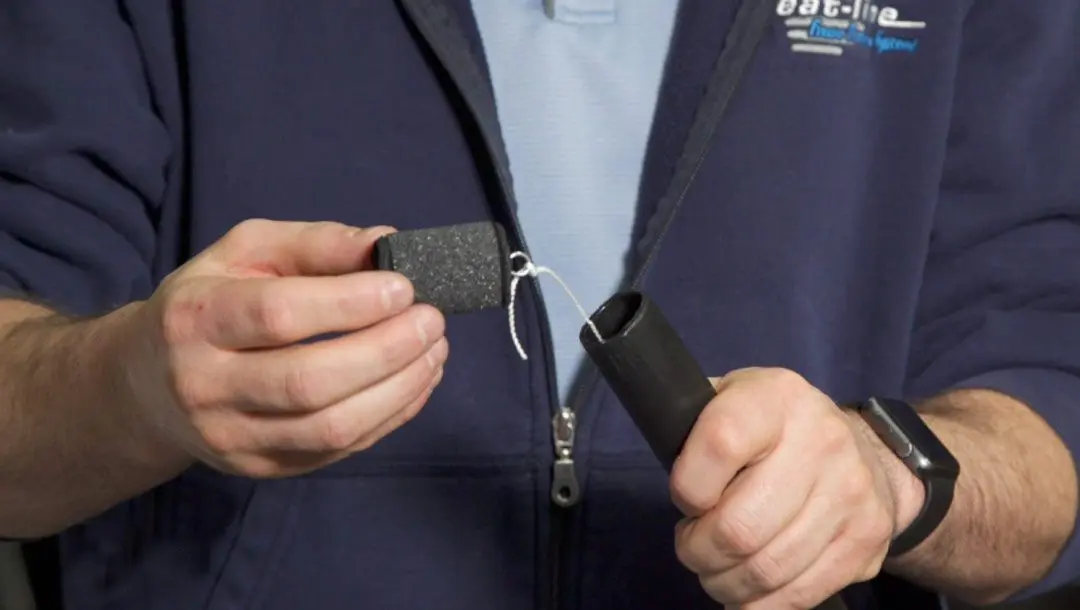
The first step to using the pull cord system is to fish another line or plumber’s fish tape inside the pipe using a “mouse” or conduit piston. In order to get the pull cord installed in the length of the pipe, the conduit piston can be vacuumed inside the pipe, pulling the cord along with it. (Additional pull cord not included.)

Conduit piston vacuumed into a pipe pulling in another pull cord

2. Pull Heating Cable Through Pipe 

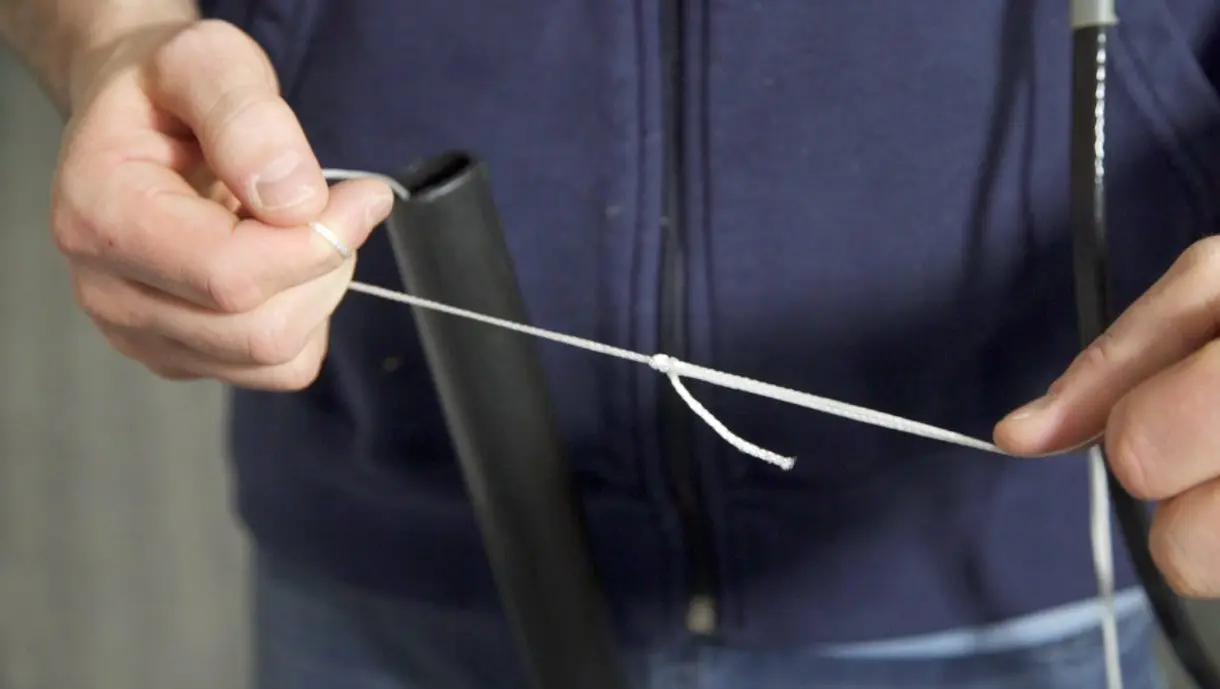
Remove the conduit piston, unwrap the included Retro-Line pull cord and complete a sturdy overhand knot to connect the two cords together. Get the Retro-Line heating cable, or electric heat tracing for pipes, set up on it’s reel and pull it into the pipe by pulling the pull cord on the other end of the pipe. Proceed to pull the heating cable through the full length of the pipe until the (electric heat tracing for pipes) cable is approximately 6 inches from the end of the pipe. 

A sturdy overhand knot connects the two cords together in order to pull the self-regulating heating cable through the pipe

3. Remove the Pull Cord

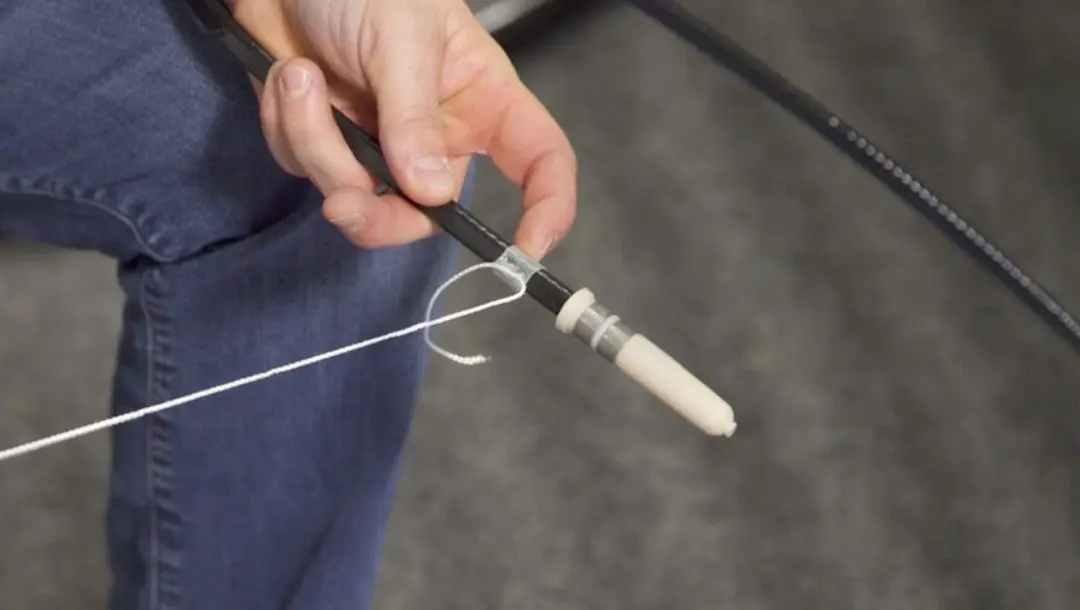
The Retro-Line pull cord is provided as a loop for convenient removal. In order to remove the pull cord, simply snip one length of the pull cord in half and then grab the other end and pull it out. It is important not to skip this step; if the pull cord is not removed it could become an impediment to the flow of fluids in the future. The installation is now complete and the heating cable, otherwise known as electric heat tracing for pipes, is successfully installed in a long length of pipe.  For a complete installation guide on the Retro-Line heating cable system, please refer to the install guide.

Pull cord attachment is not be accessible when installed inside the pipe, therefore cord is provided as a loop and can simply be cut in half and pulled out (Heating cable shown here outside of pipe for demonstration purposes)
Related Posts
How to Connect the Retro-Line Philmac ID & CTS Plumbing Connections

How to Connect the Retro-Line Philmac ID & CTS Plumbing Connections

The Retro-Line self-regulating in-pipe heating cable system is supplied in a predetermined length with all necessary components for a complete job-ready system. An essential part...

How to Install Retro-Line In-Pipe Heating Cable System in a Waterline

How to Install Retro-Line In-Pipe Heating Cable System in a Waterline

In this month’s video blog, we share helpful insights for how to install the Retro-Line self-regulating in-pipe heating cable system for freeze protection in a...

What To Do If A Self-Regulating Heating Cable System Is Unplugged and The Pipe Is Frozen

What To Do If A Self-Regulating Heating Cable System Is Unplugged and The Pipe Is Frozen

Heat-Line provides advanced heating cable systems that prevent pipes from freezing and offers reduced energy consumption, longer life expectancies, greater reliability and lengthier warranties than...